Before installing the printer, please download and install the drivers for the printer you want to add
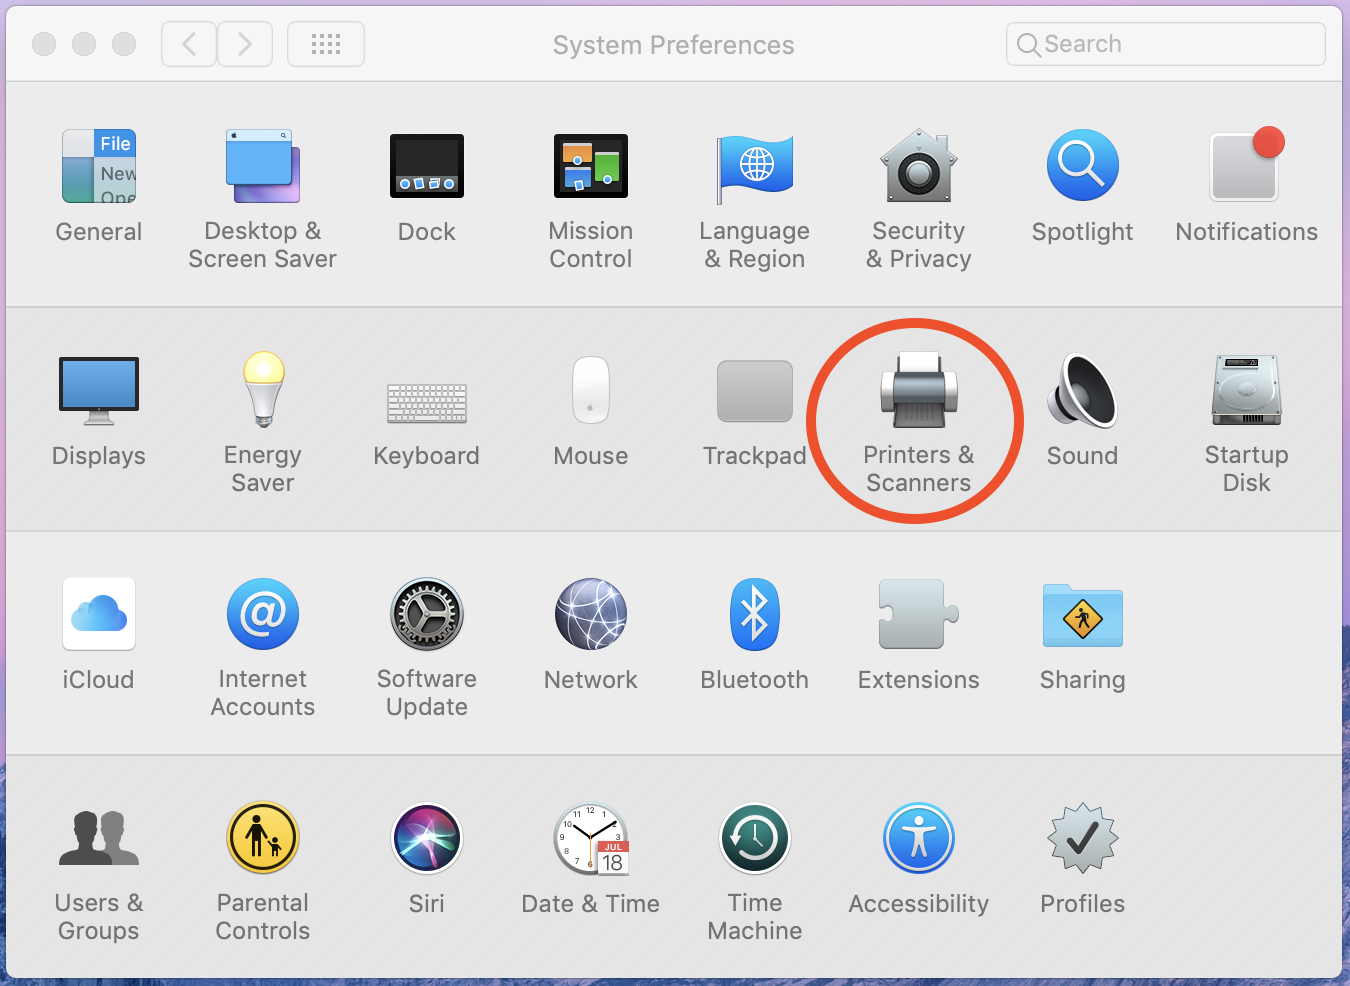
1. Click System Preferences in the Apple menu
2. Click Printers & Scanners
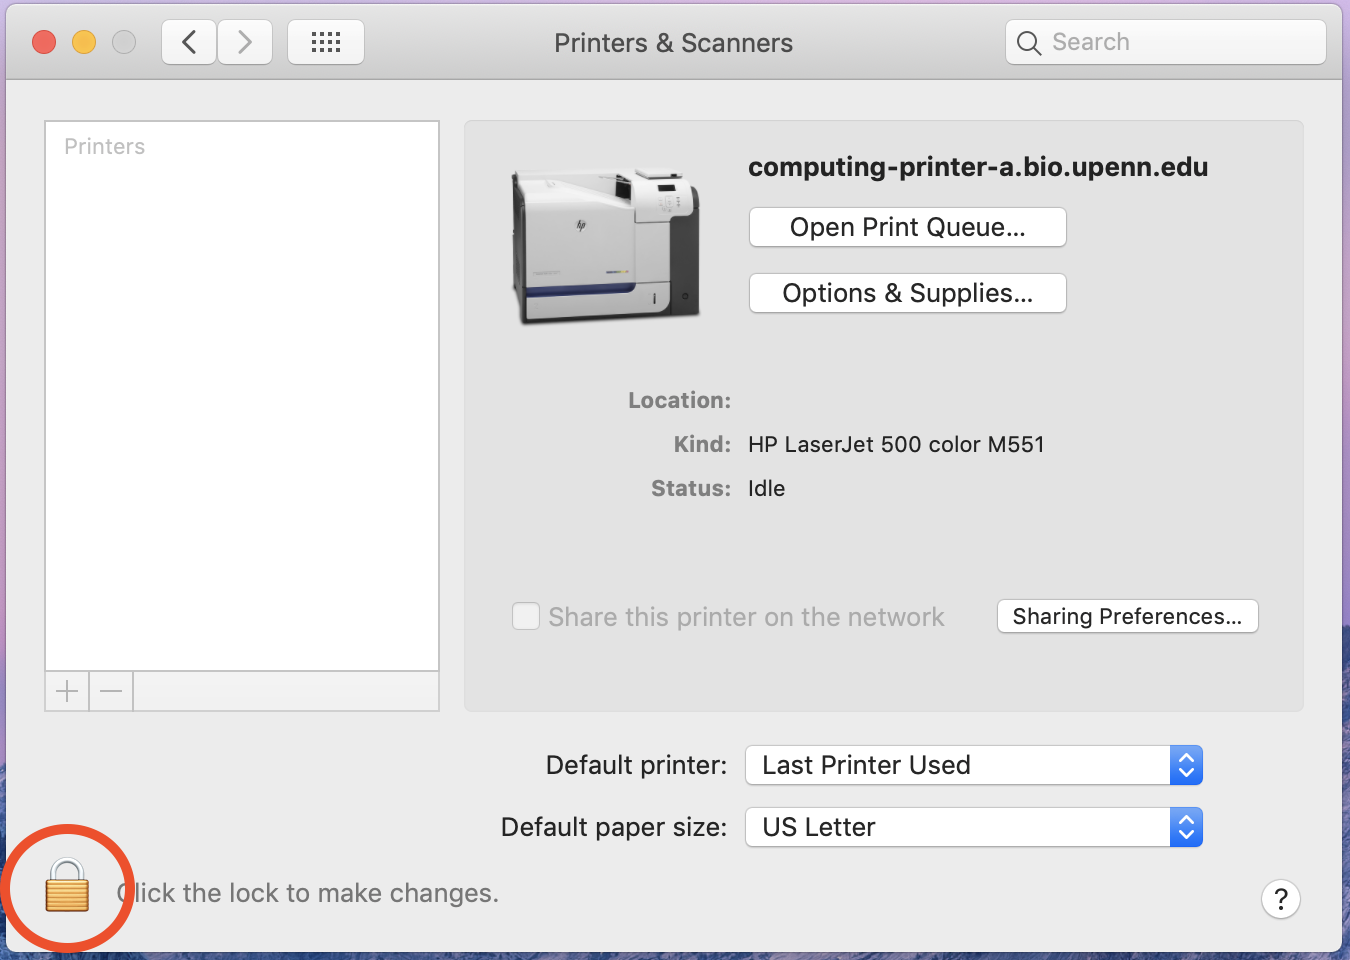
3. Click the Lock button (only if it is locked, if it's unlocked go to Step 4) and enter your computer's administrator credentials
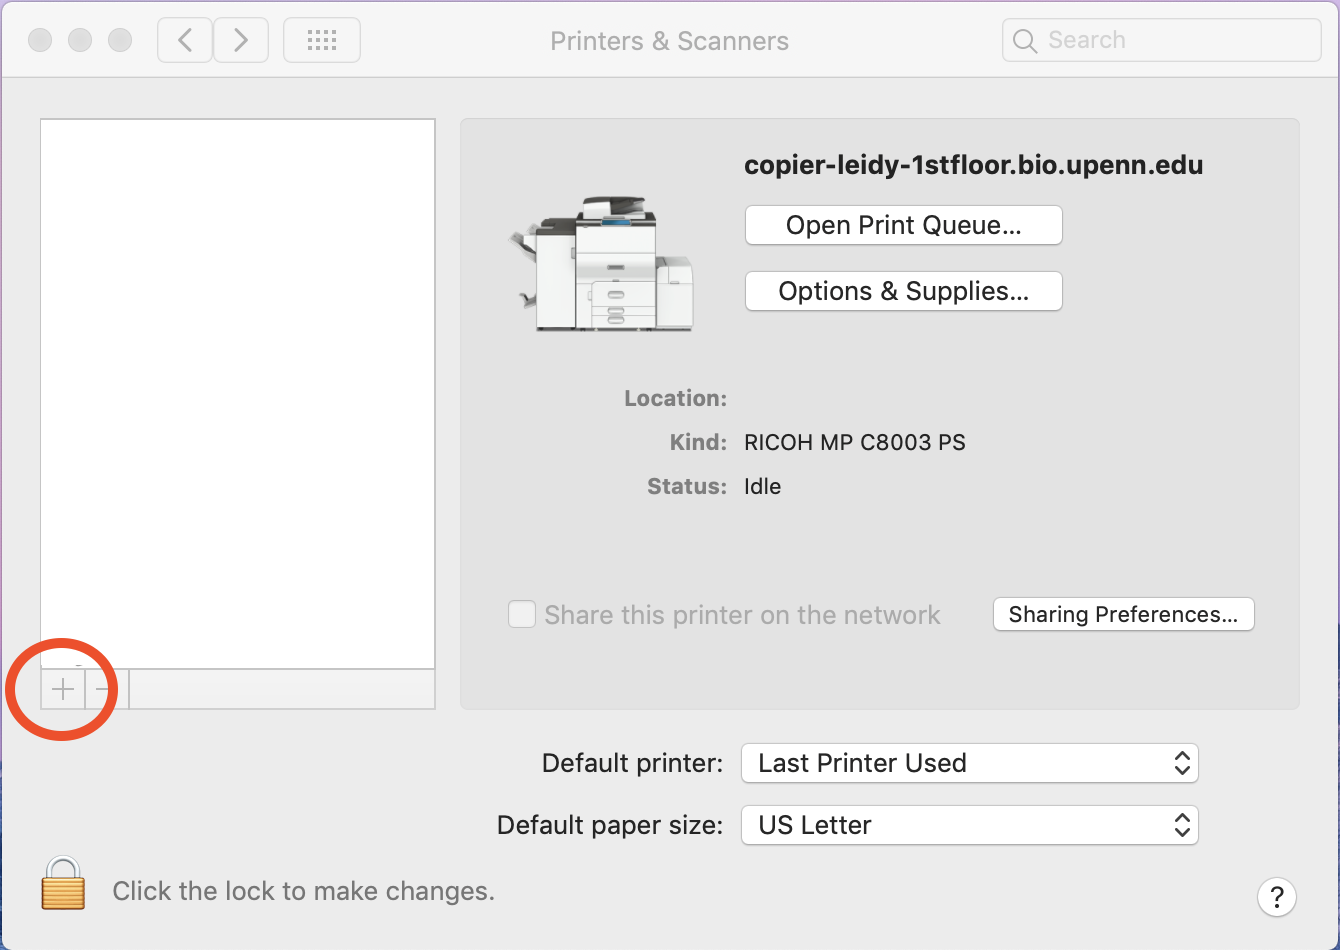
4. Click the + button
5. Click the IP icon
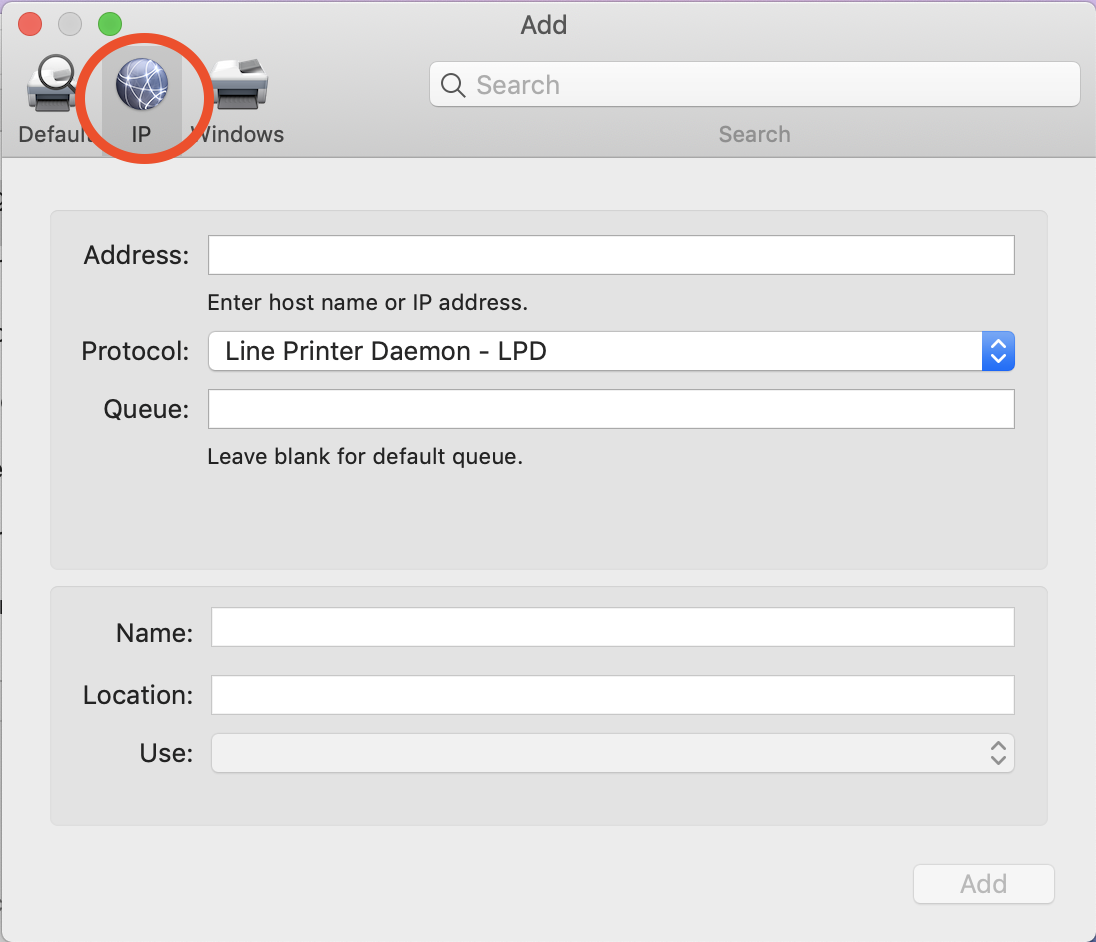
6. Enter the information for the printer shown below:

Address: If the name of the printer is correct, it will say “Valid and complete address.”
If there is a problem with the address it will say “Invalid or incomplete address.”
In this case, please check that you are entering the correct printer address, verify that your printer is not already added with a different name, and be sure that your printer is on. If these three steps are verified and still no luck, please contact Biopsych Computing.
Protocol: Select Line Printer Daemon – LPD
Name: You may change the name of the printer to something that is identifiable to you.
Use: The specific driver for that computer should automatically be set once the following information is entered.
If it is set to Generic PostScript Driver, please check the printer driver installers and make sure they have been installed before re-entering the information. If it persists, please contact Biopsych Computing.
7. Click Add
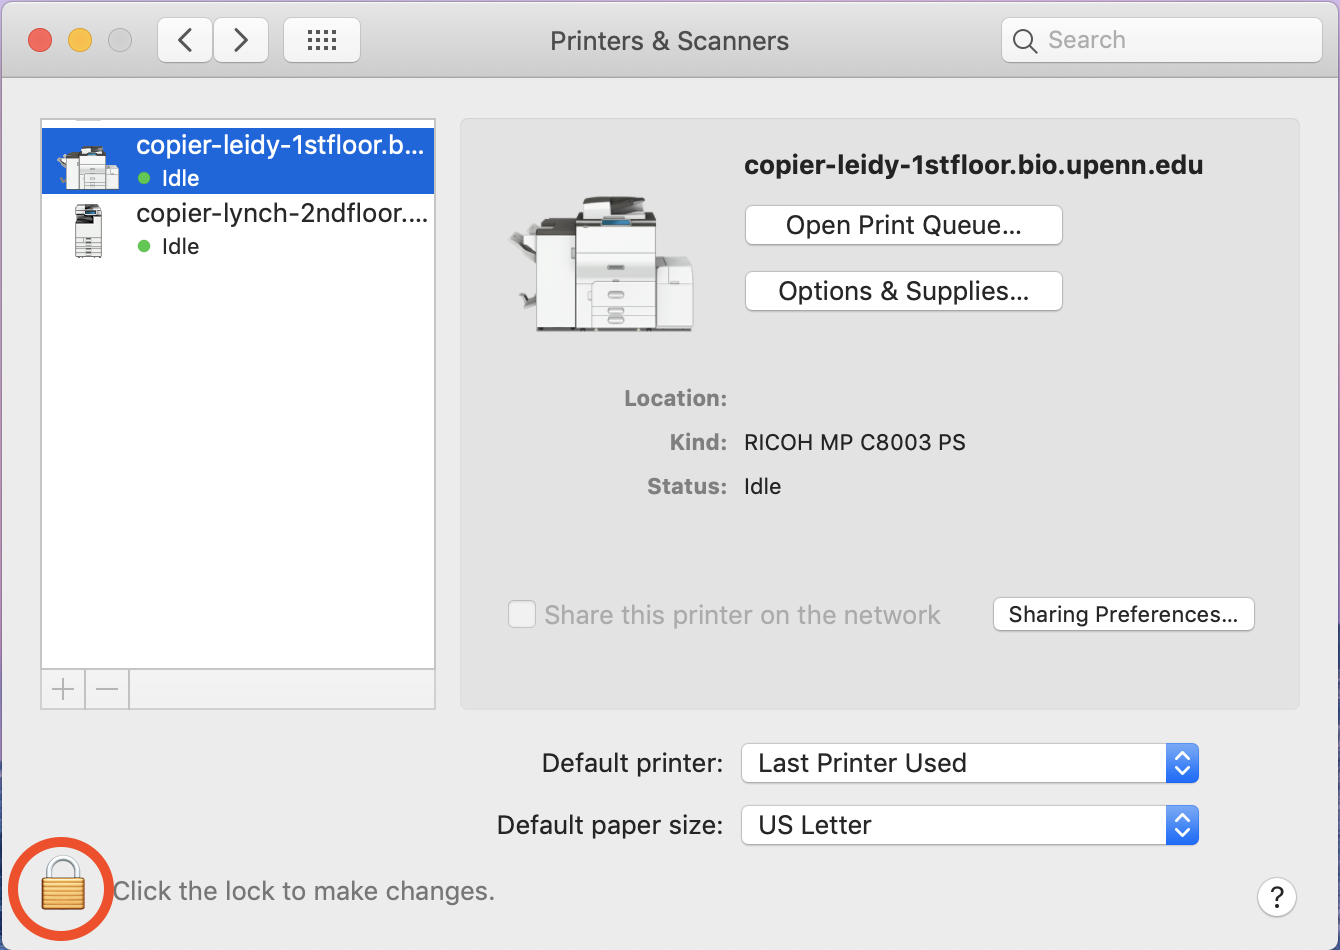
8. All set! You should now have the printer added onto your computer like this