

Before installing the printer, please download and install the drivers for the printer you want to add
Unzipping the Print Driver:
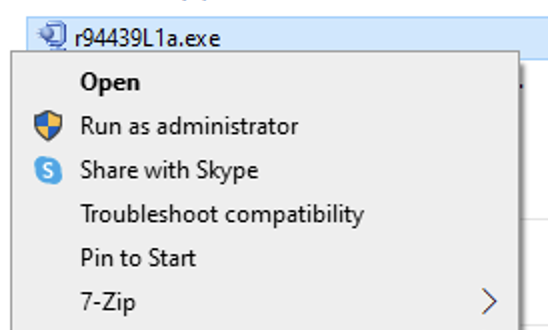
1. Right-click on the driver that you've downloaded and Run as administrator. This will prompt you to enter your admin credentials
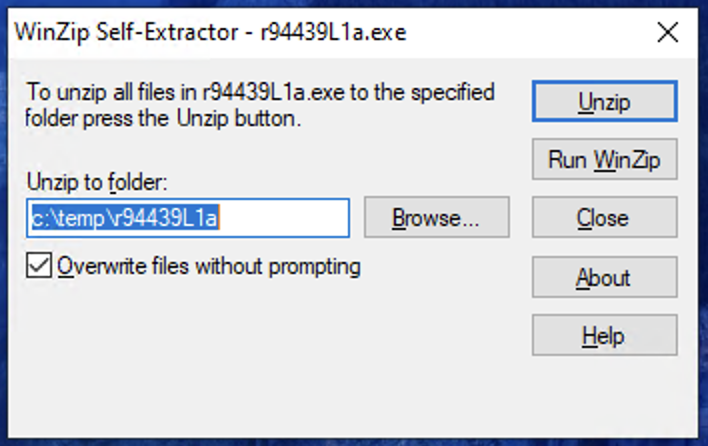
2. Once authenticated, click on Unzip
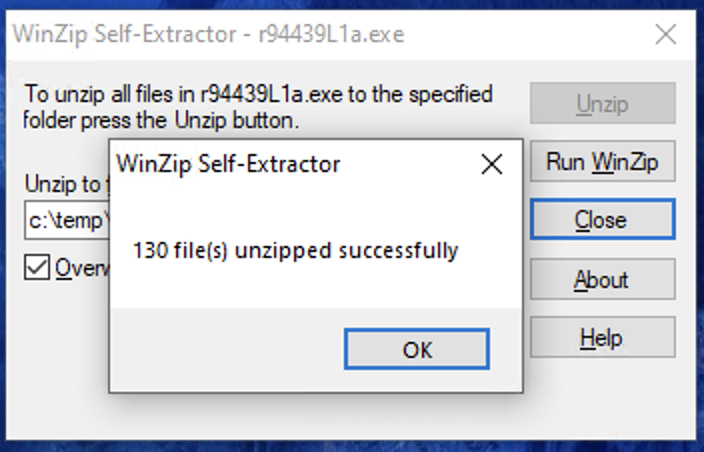
3. Once this has unzipped successfully, click OK and close the window.
Adding the Printer:
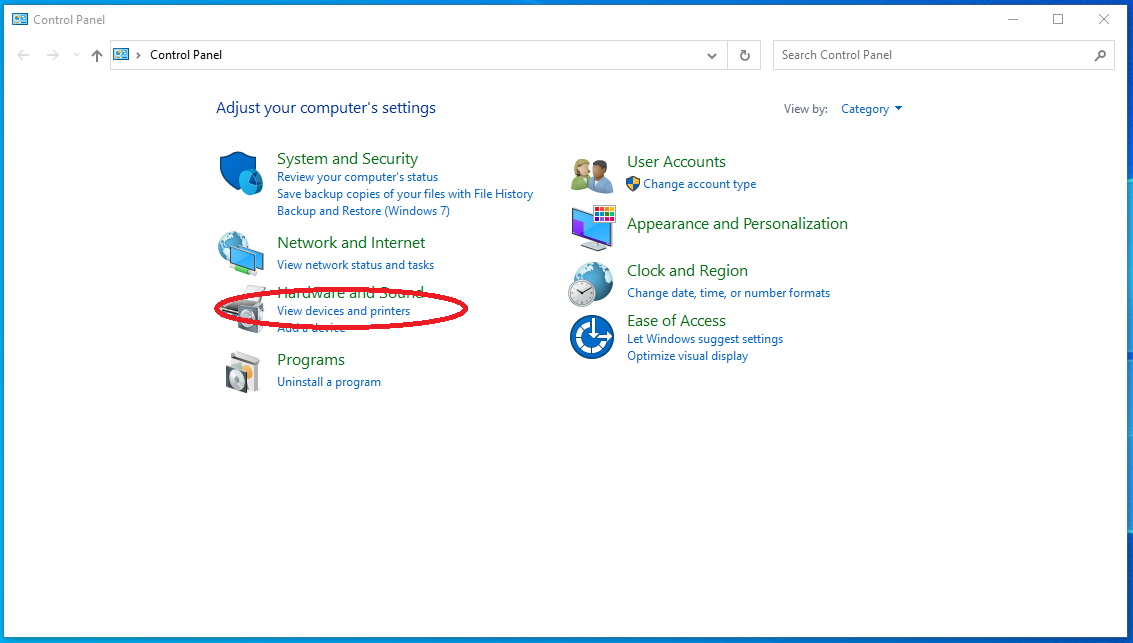
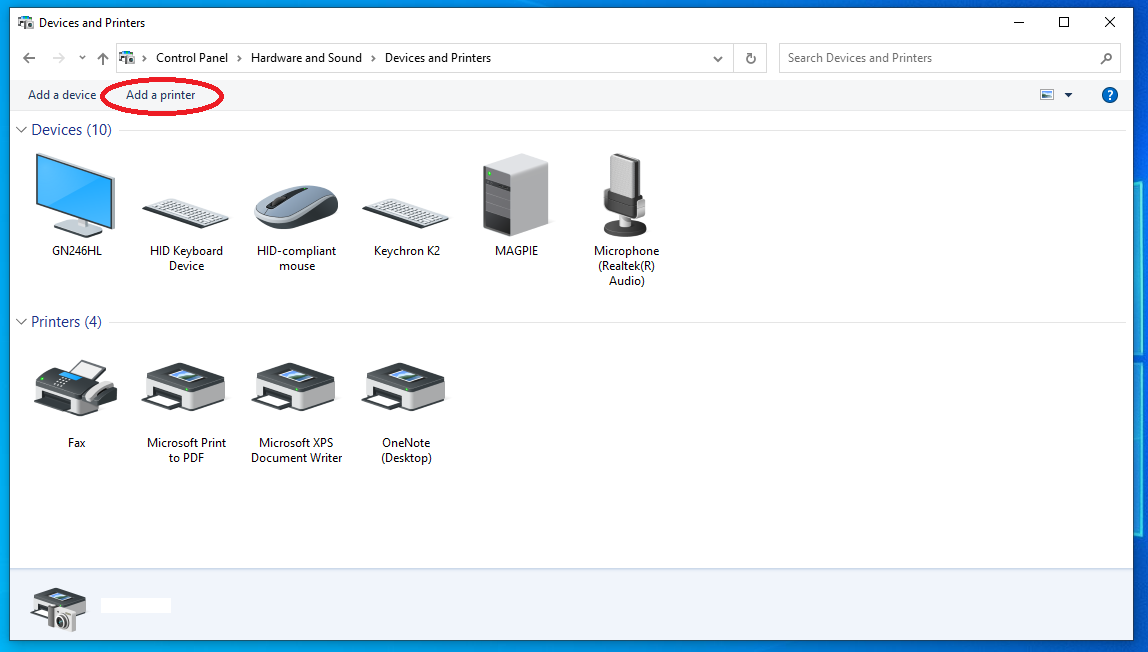
1. Click Start and search for Control Panel. Click on View Devices and Printers
2. Click Add a Printer
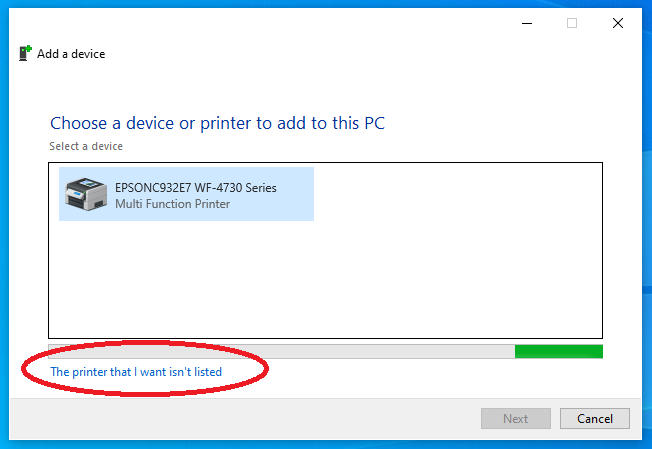
3. Click The printer that I want isn't listed
4. Select the button next to Add a printer using a TCP/IP address or hostname and click Next

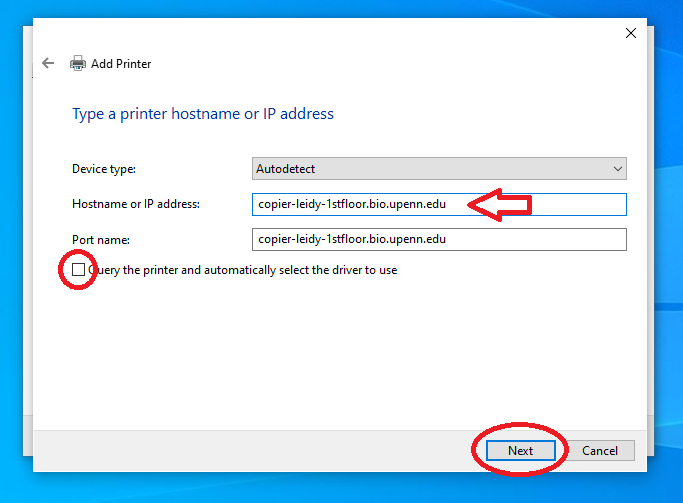
5. Make sure that Device Type is set to Autodetect
Type the full Hostname of the printer in the correlating field
Be sure that Query the printer and automatically select the driver to use is unchecked
Click Next
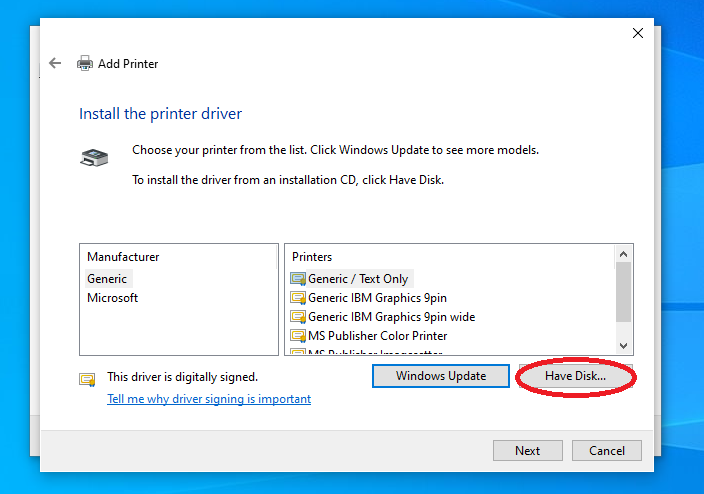
6. The computer will now attempt to add the printer.
From here, you will need to manually install the print driver that was unzipped.
Click on Have Disk
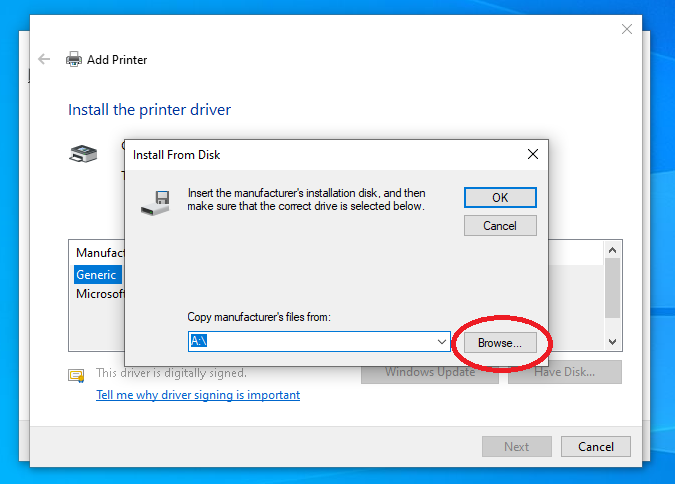
7. Another window will pop up ask you to select the driver from where you downloaded. Click on Browse...
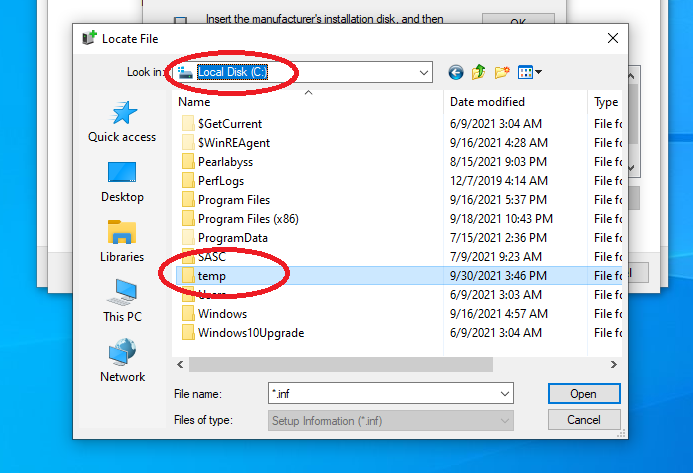
8. The path to the driver is by default under the C: drive\temp. Find the C:\ drive by clicking on the drop-down menu and click on the temp folder
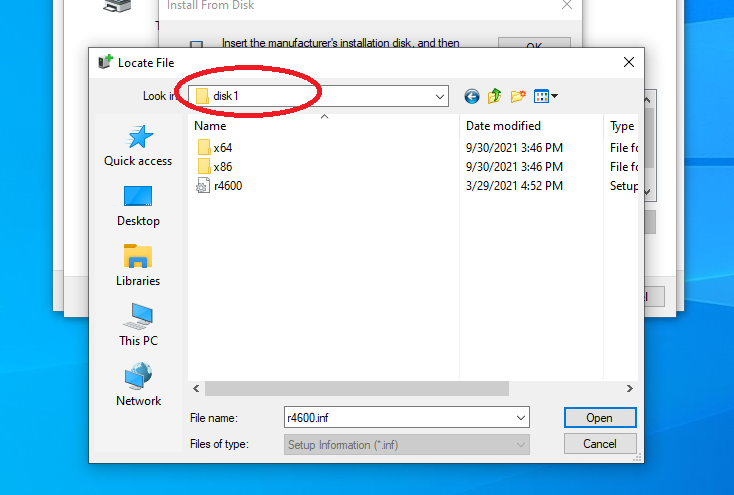
9. Click on the disk 1 folder and select the .inf file with the Cog symbol
Click Open
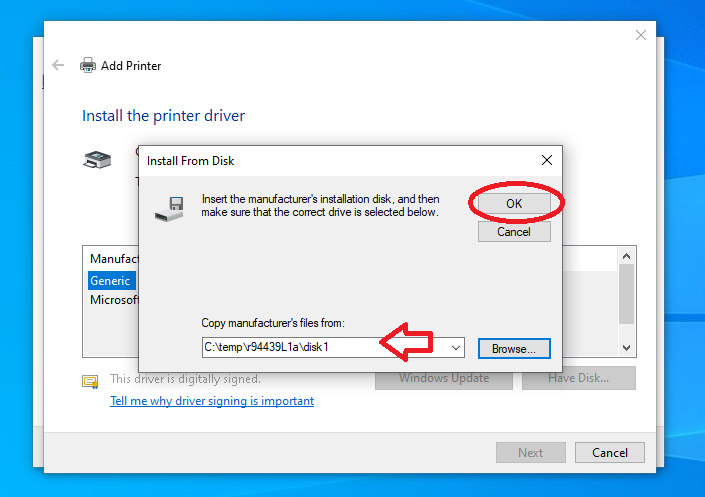
10. It should look something like this. Click OK
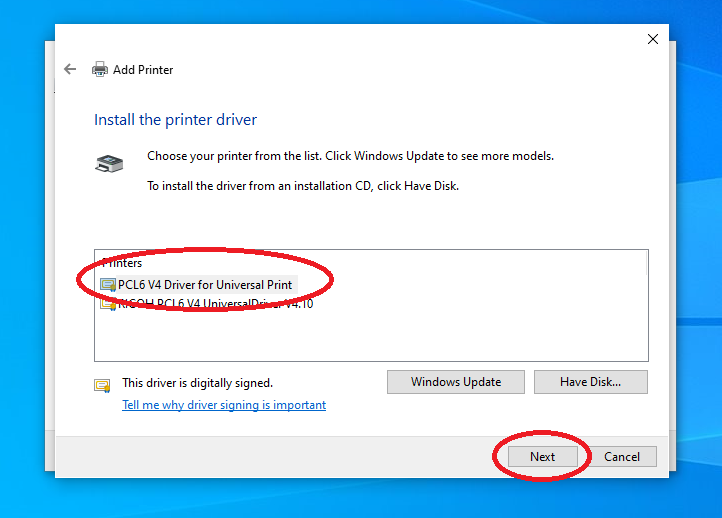
11. This will show you the available drivers that was in the folder. Choose PCL6 V4 Driver for Universal Print
Click Next
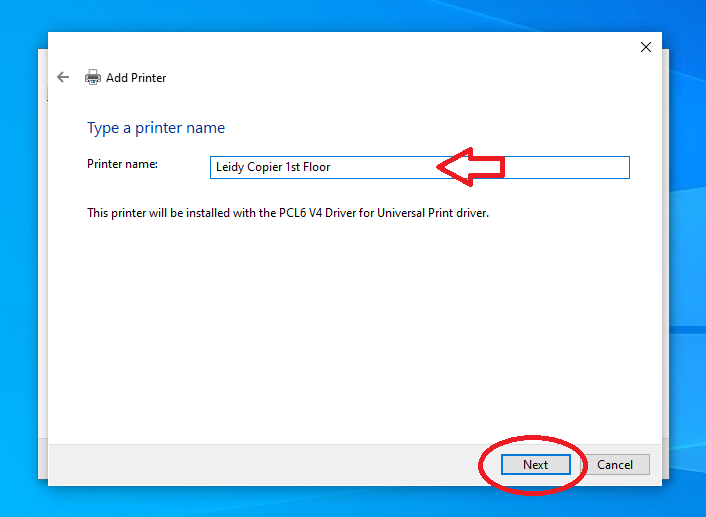
12. You may name your printer anything you wish
Click Next
You may be asked for administrator credentials at this point, if you are, please provide them
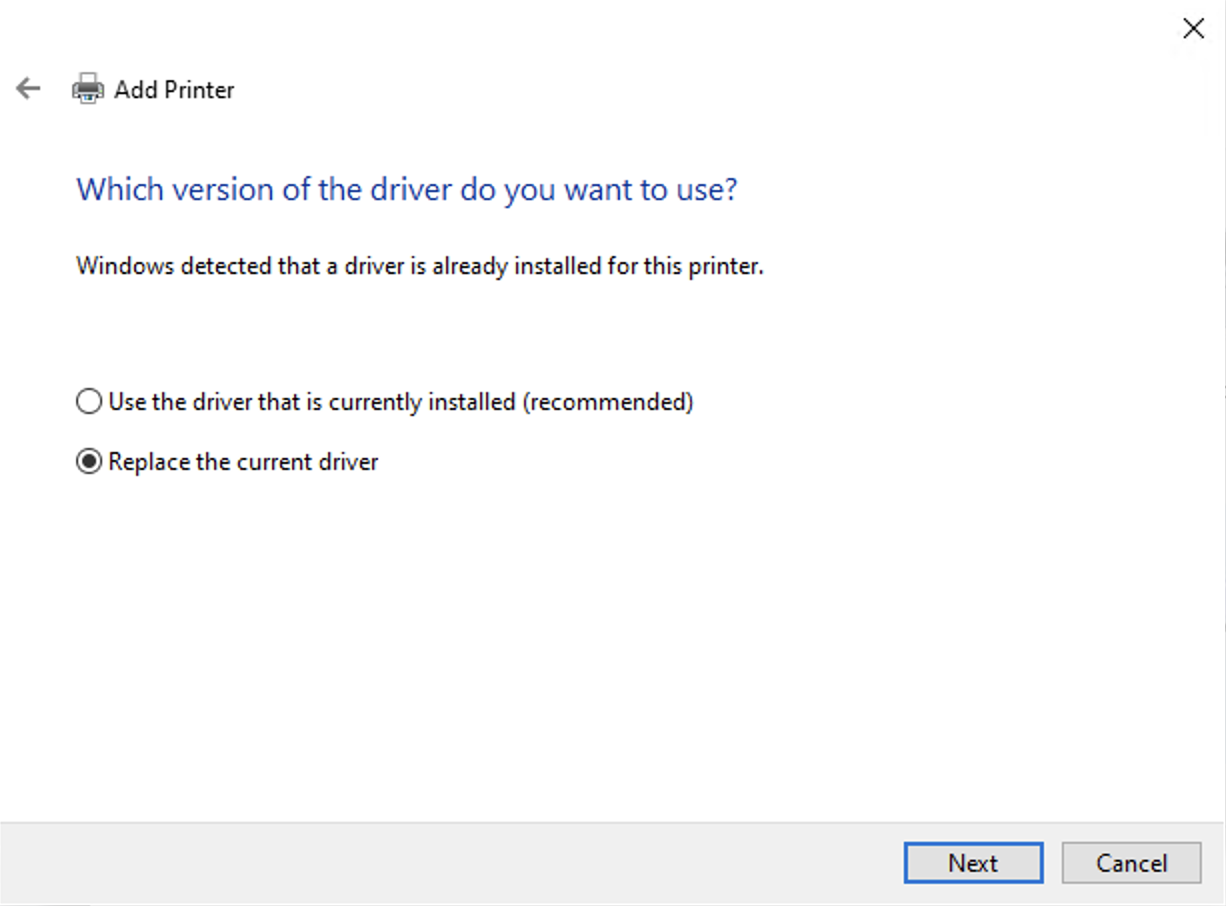
13. You may ser this window if you are redownloading the printer. If so, select Replace the current driver
14. Select the option Do not share this printer
Click Next
Once added, click Finish and that's it!